Need a way to quickly access information outside GP? You can set up a custom link for customers, vendors, items, salespeople, employees, tracking numbers, checkbooks, and credit cards. A custom link allows you to start a new e-mail message, display a web page, open a document or image, or open an external program.
Here’s how to create custom links in GP
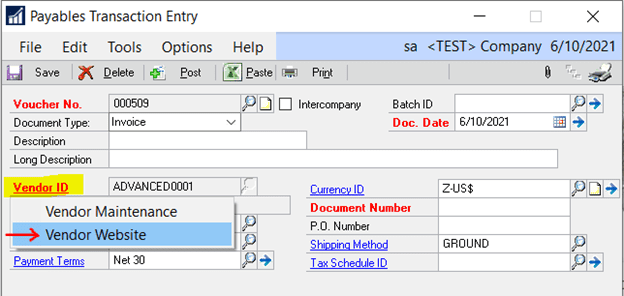
In this example, we’ll create a Custom Link to a vendor’s website.
1) Go to Microsoft Dynamics GP > Tools > Setup > Company > Custom Link
2) Click on New
3) Select the name of the prompt for which you can want to create a custom link
4) Fill in the Custom Link Label (description of the link)
5) Select an Address Type (address ID). The address IDs for Customer are Primary, Bill To, Ship To, and Statement To. The address IDs for the Vendor prompt are Primary, Remit To, Purchase, and Ship From. The address ID for Employee is Primary. This field isn’t applicable for the Item and Salesperson prompt.
6) Select an internet information option for the Address Field. This tells GP which field in the Internet Information window you’re linking to.

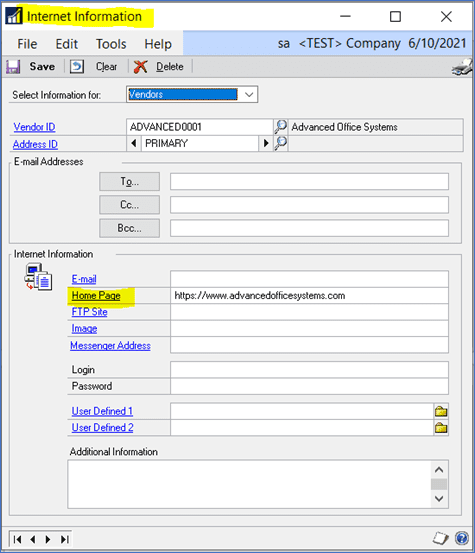
7) Now, from within any window containing the Vendor ID prompt, when you click on the prompt, you’re new Custom Link will be available. Click on the Custom Link to take you to whatever you’ve linked to.
Some other uses of Custom Links are adding an image to an inventory item, adding package tracking capabilities to the Tracking Numbers in Sales Order Processing, quickly start an email message, etc. The possibilities are endless!
We hope you found this tip useful. Need Dynamics GP support? The experienced GP consultants at CSSI are here to help. Contact us to get started.