New User-Defined Field Feature in GP 18.3 Release
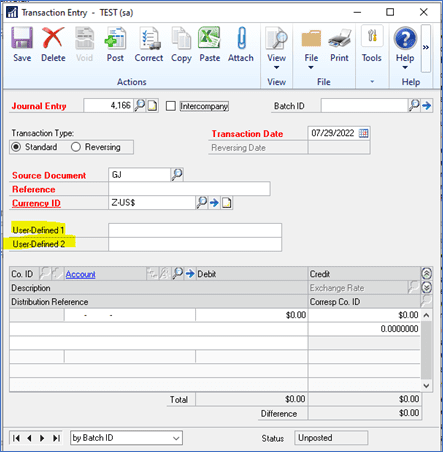
This is another feature added in the GP 18.3 release. In the General Ledger Transaction Entry window, there are now two new user-defined fields. When users enter transactions into the General Ledger, they can now add additional information regarding the journal entry.
Labels for the user-defined fields are at the bottom of the General Ledger Setup window. Go to the Financial > Setup > Financial > General Ledger.
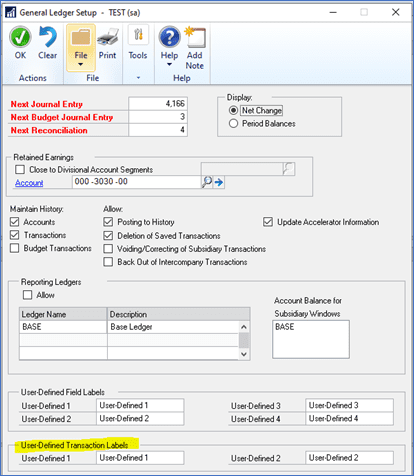
The maximum field length for the user-defined labels is 15 characters. The length of the user-defined field values is 30 characters.
Once you’ve defined your fields, you’ll see the new labels in the General Ledger Transaction Entry window.
These user-defined fields are available in the Financial Account Transactions SmartLists and they’ve been added to the following reports:
- Edit list
- Posting journal
Need GP Help?
If you need more help using these user-defined GP fields, please contact CSSI for GP support.