Document Attachments in GP
Are you aware of how easy it is to attach documents to GP transactions and master records? Document Attachment functionality was introduced in GP 2013 R2 and has gotten more robust in later releases.
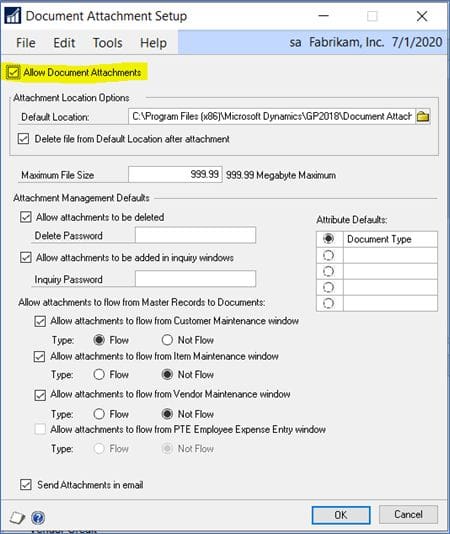
1. Document Attachment Setup
- To enable Document Attachment, go to Microsoft Dynamics GP > Tools > Setup > Company > Document Attachment Setup
- Check the “Allow Document Attachments” box
Press the F1 key (or go to Help > About This Window) for more information on the other setup options in this window
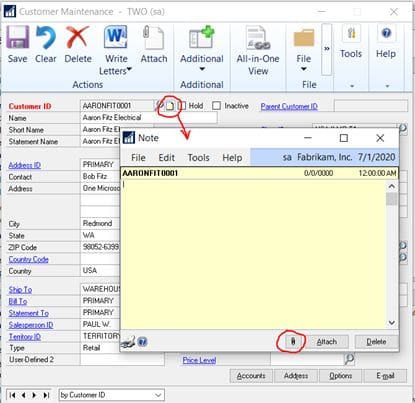
2. Using Document Attachment
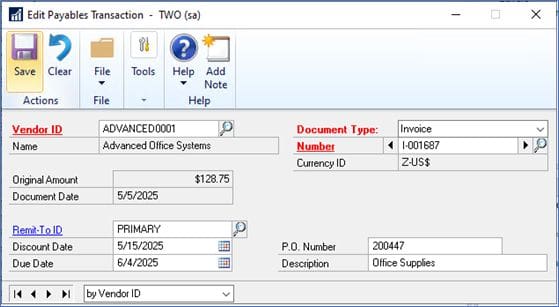
• Open almost any GP window, select a record then click on the Attach button

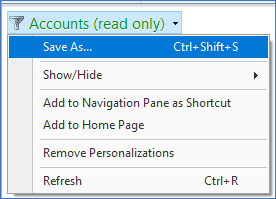
- Or click on the Notes icon then click the paper clip icon here
- Click on the Scan button in the Document Attachment Management window
- If you already have a scanned image, you can click on the Attach button to browse to that image file.
- You can then view the status of an attachment by clicking on it to select it then click on the blue arrow to the right of Date. This will show you the date and the time a user has attached, deleted, or scanned the image. If, in the setup, you marked to allow a document to flow, this inquiry screen will also show the date and time the document flowed to a transaction.

Contact CSSI for GP Support
Please contact CSSI for GP support, training, and upgrades. Our team of experts is ready to help.