What is GP’s Named Printers Feature?
The Named Printers feature allows you to default certain reports to certain printers and/or printer drawers. Instead of having to remember to select the correct printer for different reports, have GP automatically send those reports to the correct printer.
For instance, if you keep paper in one drawer of a printer and checks in a second drawer of that printer, you can use Named Printers to tell GP to automatically pull from the second printer drawer when printing checks.
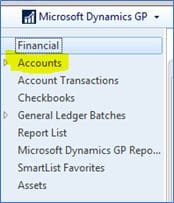
To set up Named Printers, go to Microsoft Dynamics GP > Tools > Setup > System > Named Printers.
The first time you open Named Printers, you will be prompted to enter a unique Machine ID. You can accept the default machine ID.
You must first assign a printer as the Default.

You can then set up different Printer IDs assigned to different printers.
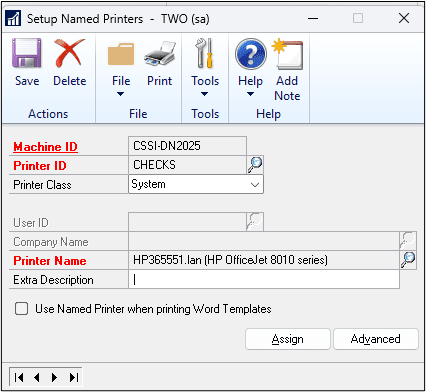
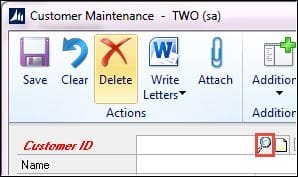
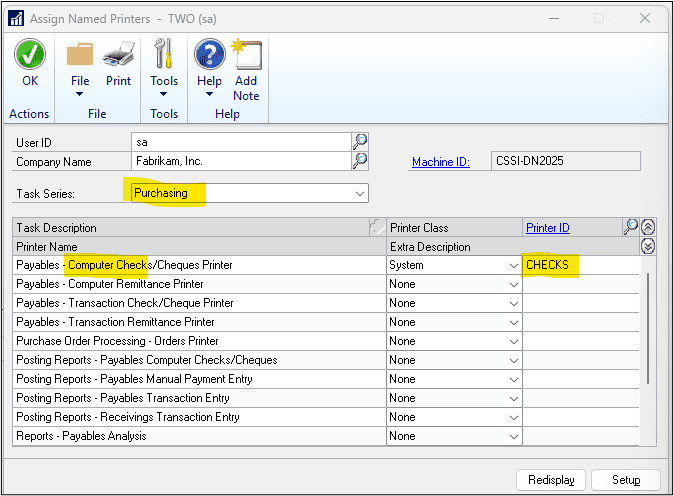
Once you have your Printer IDs created, you can then assign reports to these printers by clicking on the Assign button.
The Printer Class options are:
- System: Printer IDs assigned to the System class will be available to all combinations of users and companies. This selection is best for general purpose printers loaded with plain paper.
- User: Printer IDs assigned to a User class will be available to only a single user for all companies. Use this selection for printers that are only accessible to certain people.
- Company: Printer IDs assigned to a Company class will be available to all users for a single company. Select this option for documents that are printed on forms with the company name preprinted on them.
- User & Company: Printer IDs assigned to a User & Company class will be available only to a specified user and company combination.
- Any Printer ID: If you select Any Printer ID, you can choose from any available printer ID set up on the workstation when you print the report. You can’t assign a printer to this task in the Assign Named Printers window.
- Manual Selection: If you select Manual Selection, you will not assign a printer to the task. Instead, when you print the report, the operating system’s Print Setup window will open, and you can choose the printer and printer settings.
- None: This is the default selection, indicating that you haven’t selected a printer for the task.
This setup must be done at each workstation that will use Named Printers.
Need GP Support?
If you need technical support or training with Dynamics GP, please contact our experts at CSSI.