Monitor your data with GP Home Page and a SmartList
Use your GP Home Page and a SmartList to help you monitor your data. Use reminders to view customers who have gone over their credit limit. Or use a reminder to list all inventory items that have a on hand quantity that is below the item’s reorder limit. Or keep an eye on purchase orders created that exceed a certain dollar amount.
First, create a new SmartList favorite that displays the columns you want to see and that is filtered on whatever criteria is needed.
Let’s work with the example of seeing all purchase orders over a specific dollar amount.
First create the SmartList favorite that will give you the information you need, such as what is shown in the screenshot below.

This list is filtered on
- “Released” PO’s only, meaning they have been printed but not yet received or invoiced.
- PO’s with a Remaining Subtotal greater than $5,000
PO Status not equal to “Canceled”

Once your new SmartList favorite is displaying the information that you want, now we can save it as a Reminder on your Home Page.
Click on the Favorites button. Enter a new Name then click on Add and select Add favorite and reminder.

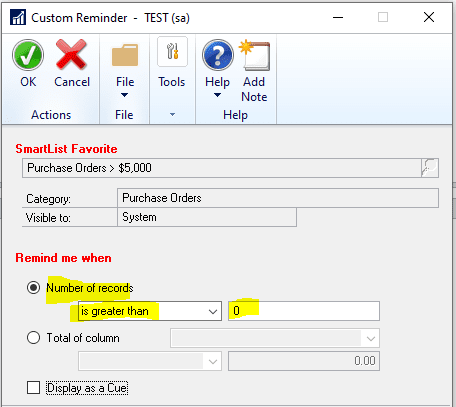
In the Custom Reminder window, under Remind me when, select Number of Records, choose “is greater than” and enter 0. This means show my SmartList as a reminder only when it’s returning more than 0 records (rows). Click on OK.
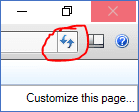
Go to your Home Page. You may need to refresh it if you had been on the Home Page while creating your reminder. You can refresh your Home page by clicking on the double blue arrows in the upper right-hand corner. Or go to another page then come back to the home page.
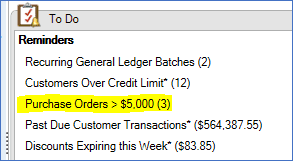
Here is my new Reminder on my Home page. The “3” in parenthesis indicates that I have 3 records on the SmartList. I can click on it and it will take me right to that SmartList.
Need GP Help?
For additional help and training with GP, please contact CSSI.