
How To Use Safe Pay in GP To Prevent Fraud
Did you know that Microsoft Dynamics GP has a built-in tool to assist in the prevention of check and ACH fraud? It’s called Safe Pay, also referred to as Positive Pay. It’s a process that involves creating a file of payables payments (checks and EFT’s) that you submit to your bank.
Any payments presented to your bank are compared to your company’s issued Safe Pay file. If a payment does not match the information in the file, your bank will contact you for authorization.
If you do not see this option in your GP, then it either needs to be installed and/or registered.
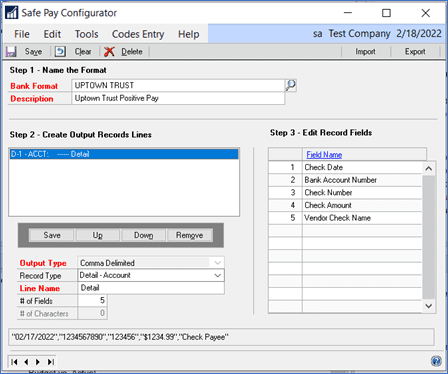
It requires a few setup steps. You’ll first need to contact your bank to confirm that they offer this service and then ask them for file specifications. This file format gets created in GP by going to Financial > Routines > Safe Pay > Configurator, where you select an Output file Type and define the types of records lines and record fields per line.
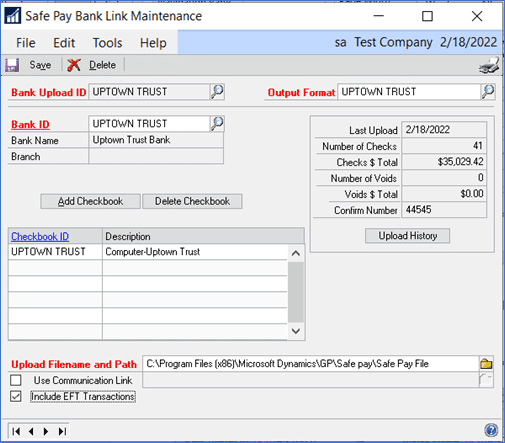
Next you go to Financial > Routines > Safe Pay > Upload Maintenance. Select the Bank Upload ID (Bank Format) that was created in the first step. Link it to a Bank ID and a Checkbook ID. Select the Upload Filename and Path where you want the file to be created. The same file name will be used every time. (The file gets overwritten each time you create a new file. Have no fear, though, you can always recreate a file from history.)
If you’re using EFT processing in GP, be sure to check the “Include EFT Transactions” checkbox at the bottom of the window.
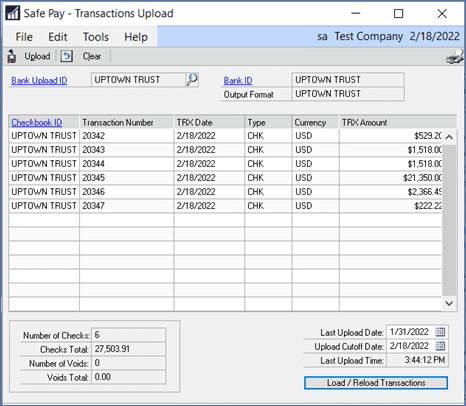
Once you’re ready to create a Safe Pay file, after you’ve posted a batch of payments, go to Financial > Routines > Safe Pay >Transaction Upload. Select the Bank Upload ID. Enter a Last Upload Date and Upload Cutoff Date. Click on the Load/Reload Transactions button. The payments to be included in the file will appear. Click on Upload to create the file.
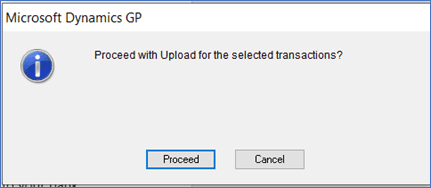
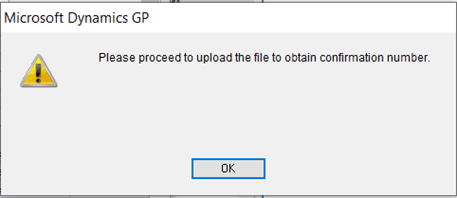
Click on Proceed when the window below appears.
Click on OK again.
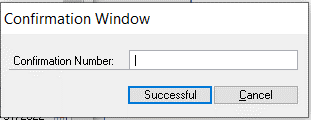
If your bank provides you with a confirmation number when the file is submitted, you can enter that in the next window. If you don’t have a confirmation number, just enter any number then click on Successful.
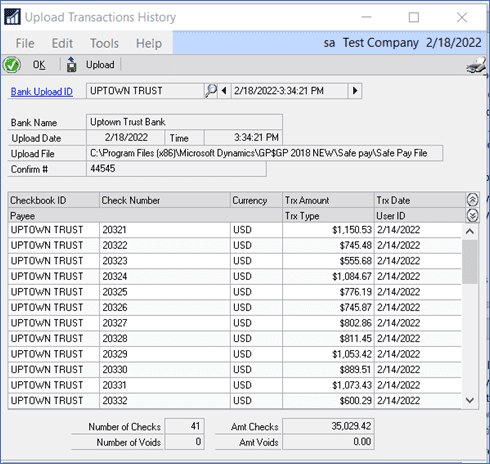
You can then print a report listing all the payments that were included in the file.
To recreate a Safe Pay file, go to Financial > Routines > Safe Pay >Transactions History. Select your Bank Upload ID. Click on the left and right arrows to scroll through previously created uploads. Click on the Upload button the recreate the file.
Need Help With GP Safe Pay?
Do you need guidance for GP’s Safe Pay? Just contact CSSI for help.