| 1 – How to change Navigation Pane Options
- Did you know that you can remove navigation pane options that you never use? Or, that you can rearrange them?
- Click on the small double right arrow in the lower right-hand corner of the Navigation pane and select Navigation Pane Options.
- Uncheck the options you don’t want to appear and/or select an option and click on the Move Up or Move Down buttons. Click on OK when finished.
|
 |
| 2 – How to customize the Toolbar
- You can add icons to the toolbar at the top of the GP screen for easy access to many GP windows
|
 |
- Click on the Layout icon in the upper right-hand corner or press Alt+L or right-click in the blank space of the toolbar. (This is where you can also choose whether or not to display the Navigation pane.)
|
|
- The Main option displays Transactions, Inquiry, Reports and Cards
|
|
- The Standard option displays SmartList, Task List, Reminders and My Reports
- Select any of the module options to display transaction entry and posting icons for each module
- To add any other icons, put a checkmark beside the Custom option. Bring up the Layout menu again and select Customize.
- Choose which toolbar to modify then click on Add to find the window to be added.
- In the Controls box, select an item then click on Modify Selection to change a Name, change a button image, insert a divider line and select to display Image Only, Text Only or Image and Text.
|
|
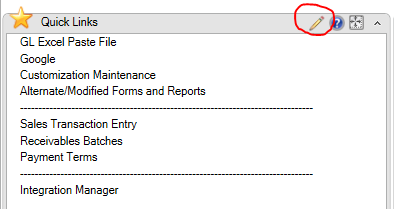
| 3 – Quick Links
- Add Quick Links to display links to GP window, web pages and/or external files (such as Excel or Word documents)
- Move the cursor over the Quick Links bar and select the pencil icon
|
|
- Click on Add and choose an option in the drop-down list
- Click on Modify to change the name of an existing quick link
- Use the Move Up and Move Down buttons to rearrange quick links
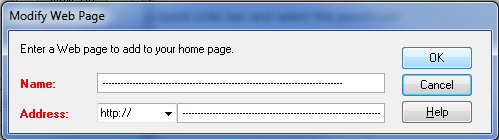
- To insert a divider line, click on Add > Web page and fill in dashes in the Name and Address fields. Use the Move buttons to rearrange the position of the divider line.
|
|
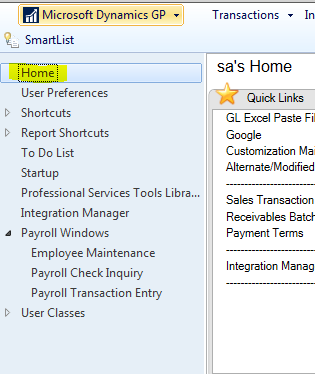
| 4 – Shortcuts
- Shortcuts are displayed in the upper part of the Navigation Pane on the Home Page. Use Shortcuts for quick access to any GP window, SmartList Favorite, GP Macros, Web Pages or External Applications.
|
|
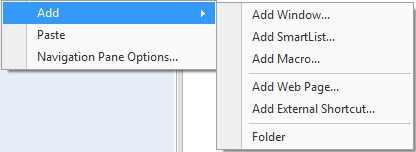
- Right-click anywhere in the blank space of the Shortcut bar and select Add. Select an Add option.
|
|
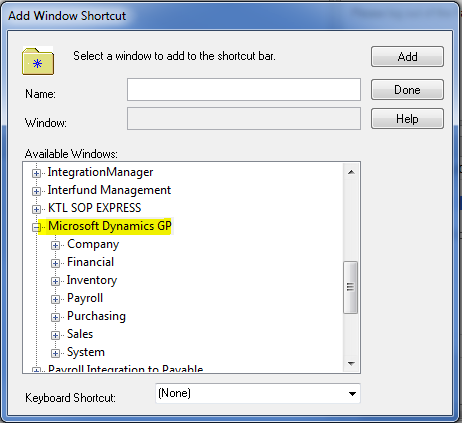
- Choose Add Window to add a GP window. Scroll down and click on the plus sign to the left of Microsoft Dynamics GP. Expand a module to find and select a window within that module. Click on Add then Done.
|
|
- You can also add windows from any GP add-on modules or third-party products.
- Add Folders to organize your shortcuts
|
|
| 5 – My Reports
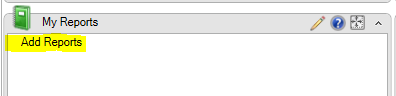
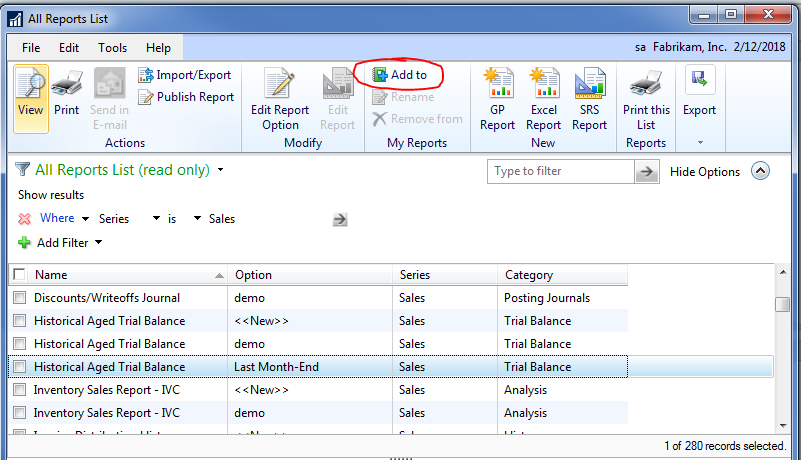
- You can add reports to the My Reports section of the Home page in one of two ways: (1) from the Home Page or (2) from within a Report Option
- To add a report from the Home page, click on the Add Reports link
|
|
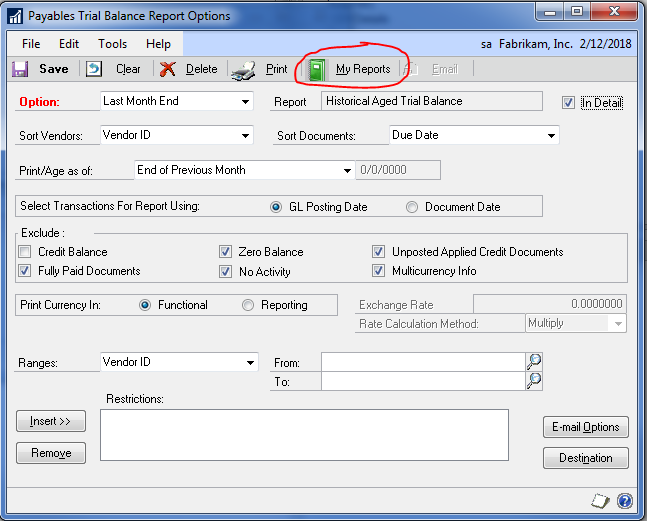
- To add a report from within a Report Option, click on the My Reports option.
|
|
| FYI: The due date for providing Forms 1095-C to employees was extended to March 2, 2018. The IRS filing deadline of forms 1094-C & copies of the 1095-Cs remains the same: paper filing needs to be done by Feb 28, 2018 and electronic filing (required for employers with more than 250 1095-Cs) must be done by April 2, 2018. |
|
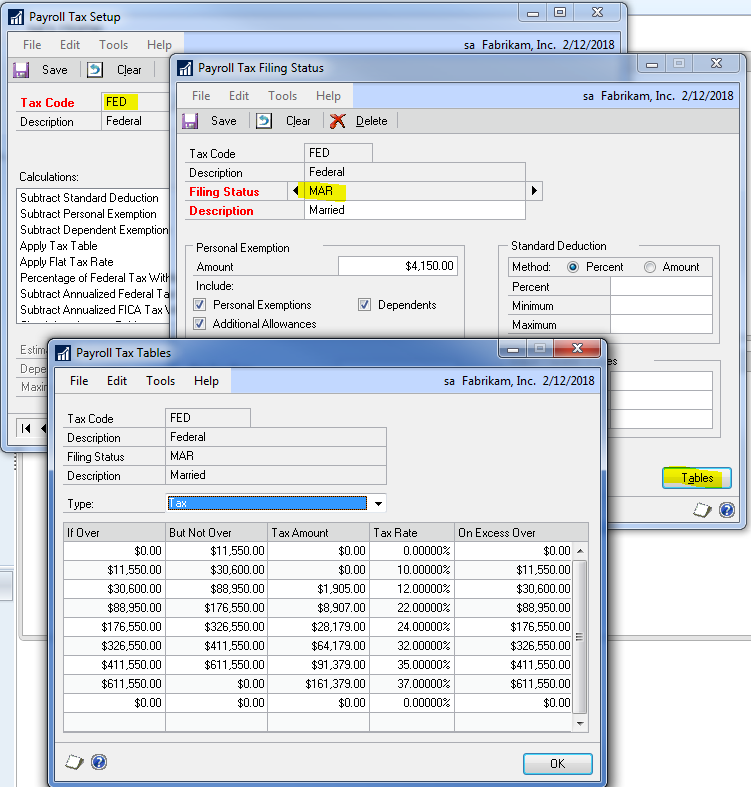
| Or, if you edited the tax tables manually, here’s a screenshot of the Married Annual FED tax table. |
|